You must first access the Advising Case of a student you would like to schedule with by searching their name in the search bar at the very top of the screen and clicking the result with the Advising Case icon, , attached.
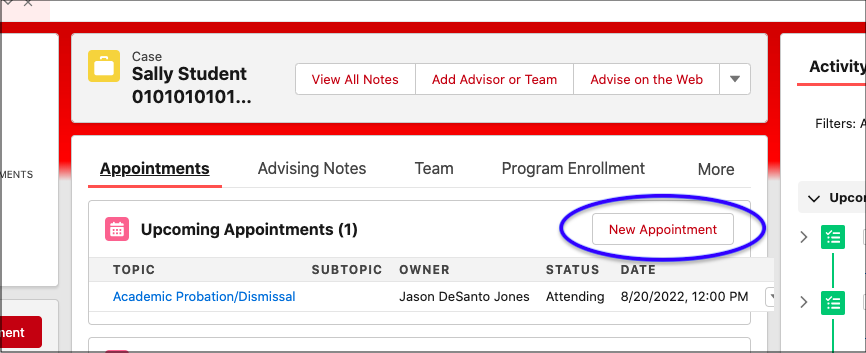
Click New Appointment. You can also click New Appointment in the "Appointment Scheduler" tile found on the left side of a student's Advising Case. Note that if you schedule through Appointment Scheduler, you will have to search for the student you would like to meet with. This is the same "Appointment Scheduler" tile found on the Home Page, and more information about it can be found in the sections below.
Select the location of the appointment from the Location drop-down menu.
This menu is populated by the locations designated in your Availability settings. Information about all Availability settings can be found in the overview of appointment settings.
A note about virtual appointments: If doing virtual advising, it is suggested that you add virtual appointments as an appointment location according to the information about location settings in the appointment location section instead of assigning each meeting a unique link. If you are assigning each appointment its own virtual meeting link, click the Web Meeting checkbox and paste the unique meeting link in the Web Meeting Link textbox.
Select a topic from the Topic drop-down menu.
Select a subtopic from the Subtopic drop-down menu (if this option is available).
Enter an appropriate appointment subject and description.
Under the “Date and Time” heading, you can select Predefined Availability (which looks only at the hours you have already made available) or One-Off Availability (which ignores all Availability configuration and related settings). If you choose One-Off Availability, you’ll be able to schedule a last-minute appointment for any length you choose.
To schedule through Predefined Availability:
Click on the days of the calendar to see a list of available time slots for that day appear to the right of the calendar.
You can also click the First Availablebutton to populate a list of your first available time slots.
Select a time slot from the list by clicking on the bubble that corresponds to it. Continue to step 8.
To schedule a One-Off Appointment:
Click One-Off Appointment under the “Date and Time” heading.
Select what you would like the start and end dates and times to be.
Click Save at the bottom of the screen to create the appointment.
 , attached.